Materials:
2 ACU tops
Pinking sheers
Fabric scissors
Yellow ribbon
hot glue gun with plenty of glue sticks
Pencil
12" styrofoam wreath form
Patience
This was the original wreath I made, posted to Pinterest.

2 ACU jackets.

with fraying the edges. Little pricey, but worth it.

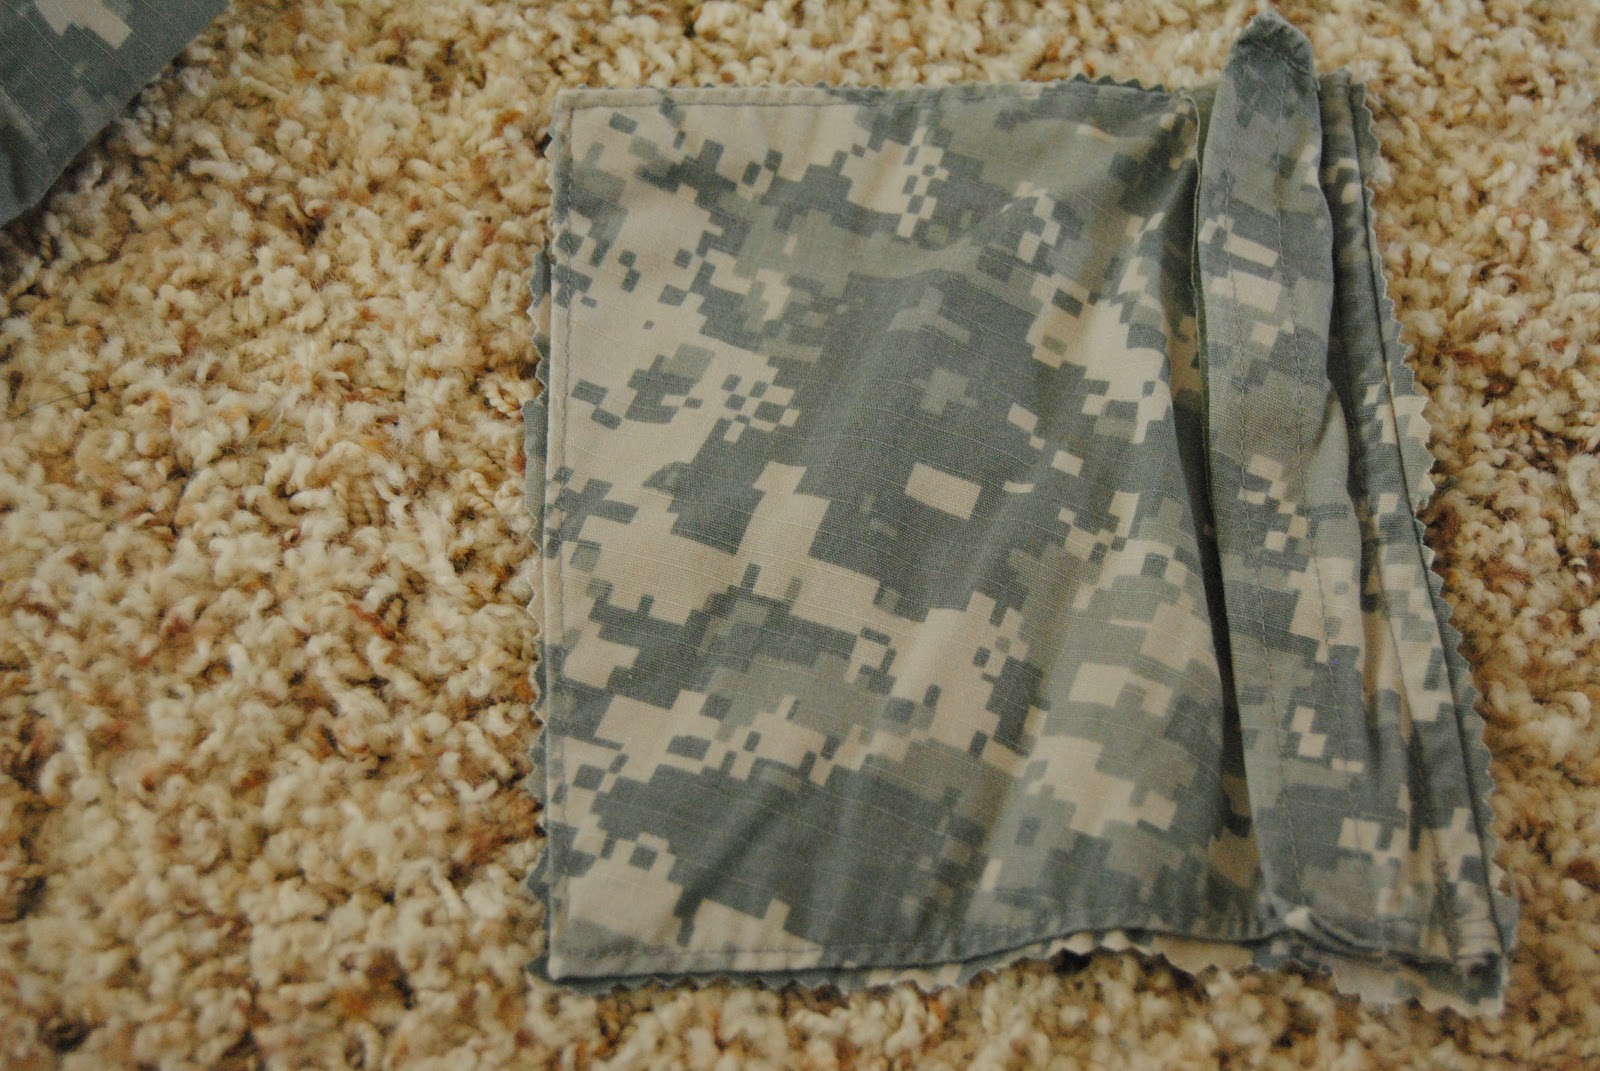
Start by cutting apart the ACU jackets. I'm frugal, so I cut everything I can. Pretty much the only thing left is the seams and extra Velcro. First time I did this I was cutting uniformed size pieces. I gave that up quick. It doesn't really matter as long as they aren't huge or tiny pieces. Just eyeball the pieces.
Here I started cutting apart the jacket.


For the name or US ARMY tab, instead of taking a tab from my husband and gluing it on, I cut out the Velcro from the uniform and glue that on. That way if you want to interchange the army tab or the name tab, you can. Just make sure when you remove it, you need to hold on to the bottom Velcro or it will pull on the little pieces and possibly pull them out.
Cut out Velcro

From one front of the ACU.

Don't forget to thing outside the box. I actually cut this out
and cut it apart to use the good fabric here too. Good note:
use the fabric scissors for difficult, thick cutting.
Of course I was having a lot of distractions, so this took me
a day and a half to finish. This distraction is too cute though. :)

These are pieces from only ONE jacket. Not enough!

These scraps are from TWO jackets. I use everything!

Now to start constructing!! This is the fun part. Don't be surprised if your thumb is sore.
Place a piece of fabric in the tip of a pencil like so.

Use the hot glue gun and apply glue to the wreath form in small sections.
(My first wreath didn't have glue, and it eventually started to come apart)
(You could place it on the fabric, but I didn't want the mess and burns)

Then start punching the fabric into the Styrofoam wreath form.
Make sure you are doing the front, inside and outside of the wreath.
This way it looks nice and full.

I start with the front, and this is what it will start looking like.

This is the wreath with all the fabric attached. As you can see I had
some left over pieces. It may happen. Better to have too many than not enough.

Here is my ribbon. It's a little thick for my taste, but I went to two Michael's
and this is all they had. I like wired ribbon, so it keeps the shape better.

I take some off the spool and test out my shape and size.
Then I cut.

Attach to the wreath. I cut a smaller one for the hanger piece.
If the tails need trimmed go ahead and trim them up.
To make the tails: Fold the ribbon in half there and cut at an upward
angle. Attach the velcro anywhere you like. Let the glue dry.

Then hang and enjoy the beautiful creation you made. :)

Thanks for reading!! I hope this helps you to create beautiful wreaths for yourself. You can always contact my at doordecorations@gmail.com for any questions or comments. Feel free to post your own pictures. You can also visit me on faceboook at https://www.facebook.com/DoorDecorations Have a wonderful day!!
Do you cover the entire wreath, or do you leave the backside exposed?
ReplyDelete